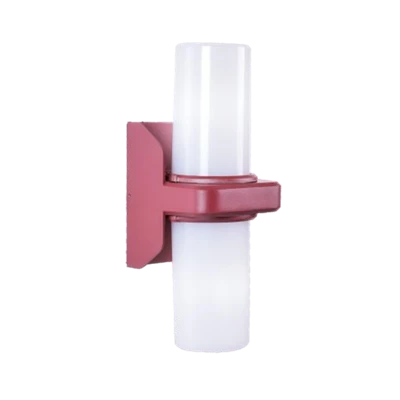
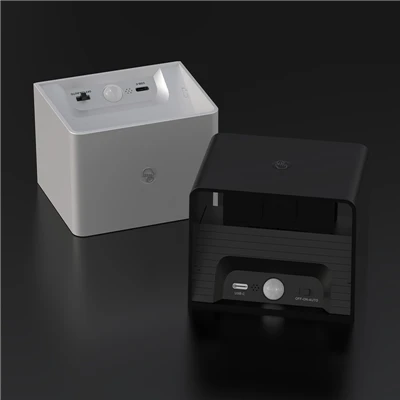
Installing LED sconce lights on a wooden wall can transform the ambiance of any room, adding both functionality and style. As a seasoned LED Sconce Light supplier, I've witnessed firsthand the transformative power of these fixtures. In this guide, I'll walk you through the step-by-step process of installing LED sconce lights on a wooden wall, ensuring a safe and successful installation.
Step 1: Gather Your Tools and Materials
Before you begin the installation process, it's essential to gather all the necessary tools and materials. Here's a list of what you'll need:
- LED sconce lights
- Screwdriver (Phillips or flathead, depending on the screws)
- Drill
- Drill bits (appropriate size for the wall anchors)
- Wall anchors (if needed)
- Electrical tester
- Wire strippers
- Electrical tape
- Measuring tape
- Pencil
Step 2: Choose the Right Location
The first step in installing LED sconce lights is to choose the right location on your wooden wall. Consider the following factors when selecting a location:
- Height: The ideal height for LED sconce lights is typically between 60 and 66 inches from the floor. This height provides adequate illumination without being too high or too low.
- Spacing: If you're installing multiple sconce lights, make sure to space them evenly apart. A good rule of thumb is to space them 36 to 48 inches apart.
- Functionality: Think about how you'll be using the sconce lights. If you're installing them in a hallway, for example, you'll want to place them at regular intervals to provide consistent illumination. If you're installing them in a bedroom, you may want to place them on either side of the bed for reading or ambient lighting.
Step 3: Turn Off the Power
Before you begin any electrical work, it's crucial to turn off the power to the circuit you'll be working on. Locate the circuit breaker panel and find the breaker that controls the power to the area where you'll be installing the sconce lights. Flip the breaker to the "off" position to cut off the power.
Step 4: Mark the Mounting Holes
Once you've chosen the location for your sconce lights, use a measuring tape and pencil to mark the mounting holes on the wooden wall. Most sconce lights come with a mounting template that you can use to ensure accurate placement. Place the template on the wall and mark the holes with a pencil.
Step 5: Drill the Mounting Holes
Using a drill and the appropriate drill bit, drill the mounting holes into the wooden wall. If the wall is made of a softwood, you may be able to drill directly into the wood without using wall anchors. However, if the wall is made of a hardwood or if you're installing heavy sconce lights, it's recommended to use wall anchors for added support.
Step 6: Install the Wall Anchors (if needed)
If you're using wall anchors, insert them into the drilled holes and tap them gently with a hammer until they're flush with the wall. Make sure the anchors are secure and won't come loose when you attach the sconce lights.
Step 7: Connect the Wires
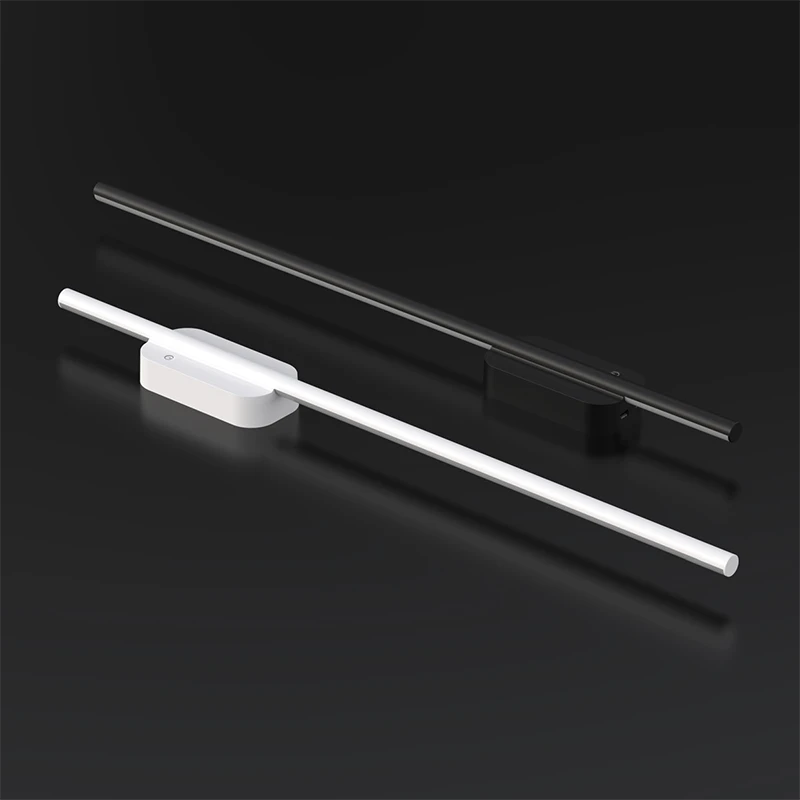
Now it's time to connect the wires. Start by removing the cover plate from the back of the sconce light. You should see three wires: a black (hot) wire, a white (neutral) wire, and a green or bare copper (ground) wire.
- Connect the black wire: Connect the black wire from the sconce light to the black (hot) wire in the wall. Use wire strippers to strip about 3/4 inch of insulation from the ends of the wires, then twist the ends together and secure them with a wire nut.
- Connect the white wire: Connect the white wire from the sconce light to the white (neutral) wire in the wall. Follow the same process as above to strip the insulation and connect the wires with a wire nut.
- Connect the ground wire: Connect the green or bare copper (ground) wire from the sconce light to the ground wire in the wall. If there's no ground wire in the wall, you can attach the ground wire to a metal box or other grounding source.
Once you've connected the wires, wrap them with electrical tape to ensure a secure and insulated connection.
Step 8: Attach the Sconce Light to the Wall
With the wires connected, it's time to attach the sconce light to the wall. Align the mounting holes on the back of the sconce light with the holes in the wall, then insert the screws and tighten them with a screwdriver. Make sure the sconce light is securely attached to the wall and doesn't wobble or move.
Step 9: Test the Lights
Before you replace the cover plate, it's important to test the lights to make sure they're working properly. Turn the power back on at the circuit breaker panel, then flip the switch to turn on the sconce lights. If the lights don't come on, double-check the wire connections and make sure the power is on.
Step 10: Replace the Cover Plate
Once you've tested the lights and confirmed that they're working properly, replace the cover plate on the back of the sconce light. Make sure the cover plate is securely attached and flush with the wall.
Tips and Tricks
- Use a level: When marking the mounting holes, use a level to ensure that the sconce lights are installed straight and level. This will give your installation a professional look.
- Label the wires: Before you disconnect the wires in the wall, label them with tape or a marker to ensure that you connect them correctly later.
- Use a voltage tester: Before you start working on the wires, use a voltage tester to make sure the power is off. This will help prevent electrical shocks and other accidents.
- Follow the manufacturer's instructions: Always follow the manufacturer's instructions when installing LED sconce lights. Different models may have different installation requirements, so it's important to read the instructions carefully.
Conclusion
Installing LED sconce lights on a wooden wall is a relatively simple DIY project that can enhance the look and functionality of any room. By following the steps outlined in this guide and using the right tools and materials, you can install your sconce lights safely and successfully.
If you're in the market for high-quality LED sconce lights, look no further. As a leading LED Sconce Light supplier, we offer a wide range of Modern Outside Lights, Black Outdoor Lantern Lights, and Decorative LED Wall Light to suit your needs and style. Our products are designed to provide energy-efficient, long-lasting illumination, and they come with a warranty for your peace of mind.
Whether you're looking to upgrade your home's lighting or add some ambiance to your outdoor space, we've got you covered. Contact us today to learn more about our products and to discuss your lighting needs. We're here to help you create the perfect lighting solution for your home.

References
- "LED Lighting Installation Guide." Home Depot.
- "How to Install Wall Sconces." Lowe's.
- "Electrical Wiring Basics." Family Handyman.